StarQuest Tengoku
My blog is all about, Starion/Conquest, Cars, Engines, Rally, Drift, Japan and a little of me.
Friday, December 25, 2015
Saturday, December 5, 2015
Type S Blowoff Valve Recirculated
Monday, November 9, 2015
HKS Standard Bypass Valve Recirculation *Done*
HKS Standard Bypass Valve recirculation on the Panda, i received a looooot of questions about my bypass valve recirculation video on instagram and valves in general. *How it sounds? a video of how it sounds with a 3" aluminum intake here: https://instagram.com/p/8EKL5sMZwn/ , remember that i have an HKS Standard Bypass Valve, different brands and styles of valves have a different sound. *It runs better? yeah it runs a lot better and have better fuel economy too, also it runs smoother and have a better throttle response. *I need to set it up differently from a vented to atmosphere valve? A recirculating valve needs to be open at idle, and since it is a closed loop system, no metered air is escaping the system, the valve opens and recirculate it back to the intake drawing in already metered air. This is how a recirculating valve works and this is my setup. Atmospheric valves need to be closed at idle, otherwise the pressure that exists in the charge piping even at idle will be leaking out of the valve.
Under load/boost, all valves need to be closed, retaining the boost pressure in the system. At throttle lift, charge pressure in the system and the intake manifold going back to vacuum causes the valve to open, recirculating the pressure back into the intake or venting it to atmosphere. I hope that answers all the questions. 😎👍
Diagram of a recirculation setup.
Wednesday, August 20, 2014
Changes in the Kuro Gouki!!
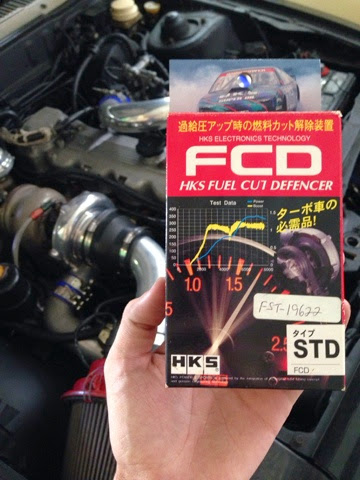
Right now i'm using the stock 86 ECU with an HKS Fuel Cut Defencer and the stock 86 MAS and 850cc injectors @ 0.7 BAR. Also i made a few changes to the intercooler piping.
Wednesday, October 23, 2013
黒豪気 Kuro Gouki ~Progress Pics
This are some pic's of the process of the parts and mod's that i made.
Turbonetics 60-1
Custom 4" intake
Another angle of the intake
Measuring..
Making the hole bigger for the 2.5" piping
There you go.
The old solenoid went bad, so i used the three port EGR one replacing the bad original one.
Big front mount intercooler.
I always paint my intercoolers black.
My custom turbo header.
Measuring (again) lol
My custom turbo header installed
3" full exhaust system
Tial 38mm external wastegate
Everything fit nicely
Updates on my 1986 Mitsubishi Starion ~黒豪気 Kuro Gouki (2013)
Long time without being here... a lot of things happened. Starting with my father's death and a lot of other hard things that happened in my life in all this time. I was recovering from all that. I think i'm back for some time now again. About my StarQuest's there are some updates. Starting with my 1986 Starion.
This is how my 86' Starion engine looks now...
Updates:
Turbonetics 60-1 (4" inlet)
Tial 38mm external wastegate
Custom turbo header
2.5" intercooler piping
Full 3" exhaust system
HKS SSQV
Custom big front mount intercooler
4" turbo intake piping
My MPI intake manifold. I still need to finish some work on it, things like the fuel rail and the 75mm throttle, but hey everything step by step move by move.
After that i'm going to get a megasquirt or microsquirt and do some settings here and there.
With the help of God i will continue updating my blog again... thanks for watching!
Subscribe to:
Comments (Atom)


